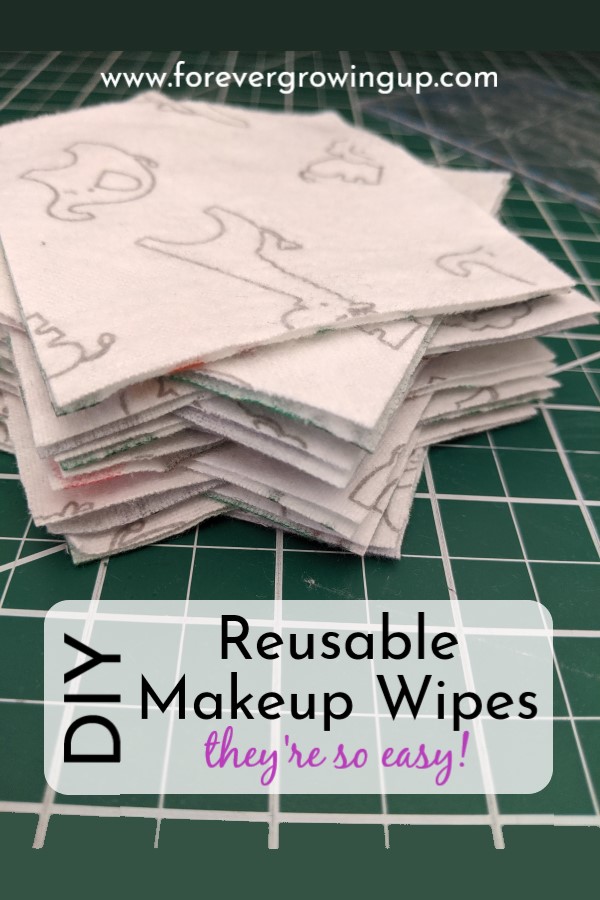
DIY: Reusable Makeup Wipes
We may earn money or products from the companies mentioned in this post.
Whew! I can’t be the only person who waits until the last second to do something that will only take a couple of minutes, right? I’ve been planning to make these DIY reusable makeup wipes for months but I just kept putting it off. It’s tough when there are plants to fawn over and baby laundry to do! It’s a shame because now that I’ve done it, they are so quick and easy.
If you are looking for an easy way to make your makeup and skincare routine a little more sustainable and step a little closer to being zero-waste, these are a great way to start. Read on for step by step instructions on making your own.
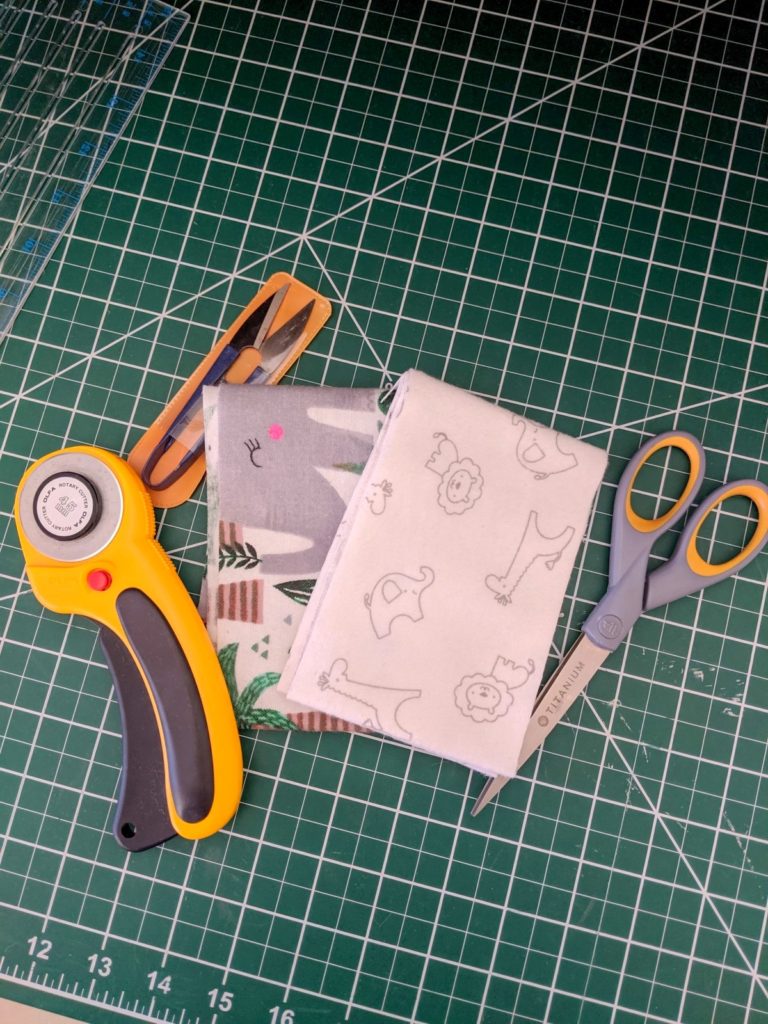
Materials
You will need:
- Cotton flannel (even flannel receiving blankets work)
- Thread (matching or not, your call!)
- Scissors or a rolling cutter like this one from Olfa
- Ruler
For what it’s worth, I made mine on a sewing machine, but I’d be willing to bet you could hand sew these if you wanted to. A good distraction while you’re sitting in front of the TV.
A few notes before we dive in – I used leftover flannel from a baby quilt that I made for a friend. It’s a great way to use up your scrap fabric. If you don’t have any around, Joann Fabrics often has their flannel on sale – “snuggle flannel” and “nursery flannel” are usually on some kind of discount. You can also buy flannel receiving blankets and cut those up – I see them on clearance at Target pretty often.
Step One:
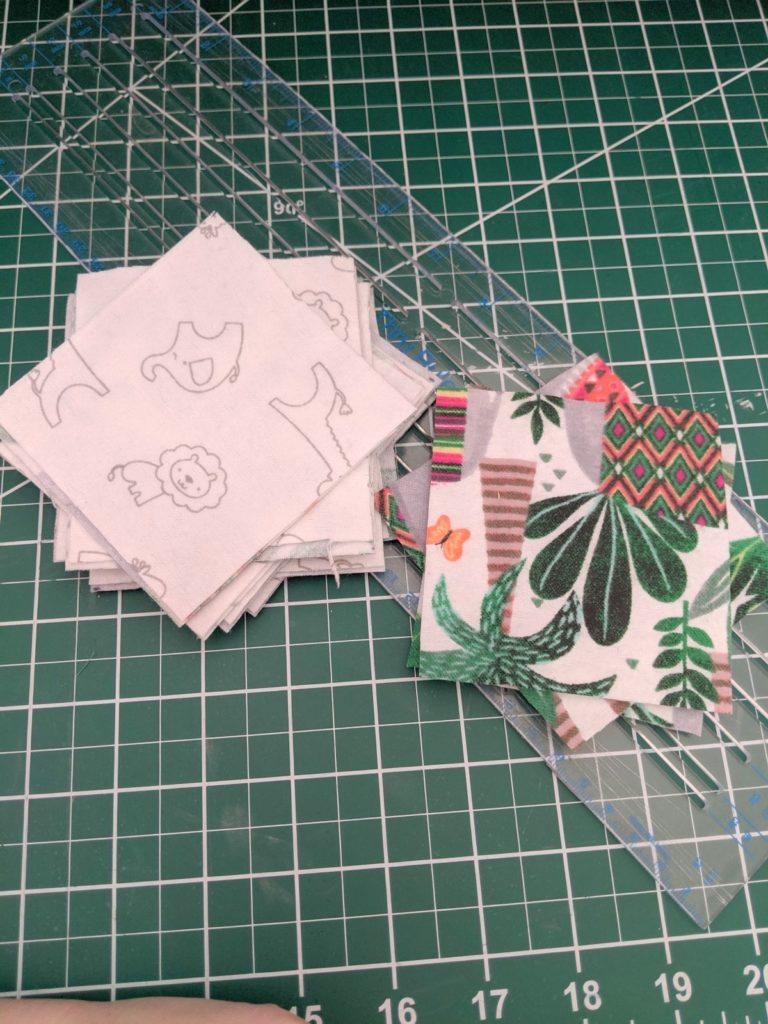
Decide on your wipe’s size. I have seen a lot of these that are small and round like the disposable kind you can buy in a drug store. For mine, I wanted a little more surface area to hold onto and use. My fabric was already in 3.5 inch strips, so I measured out squares that size.
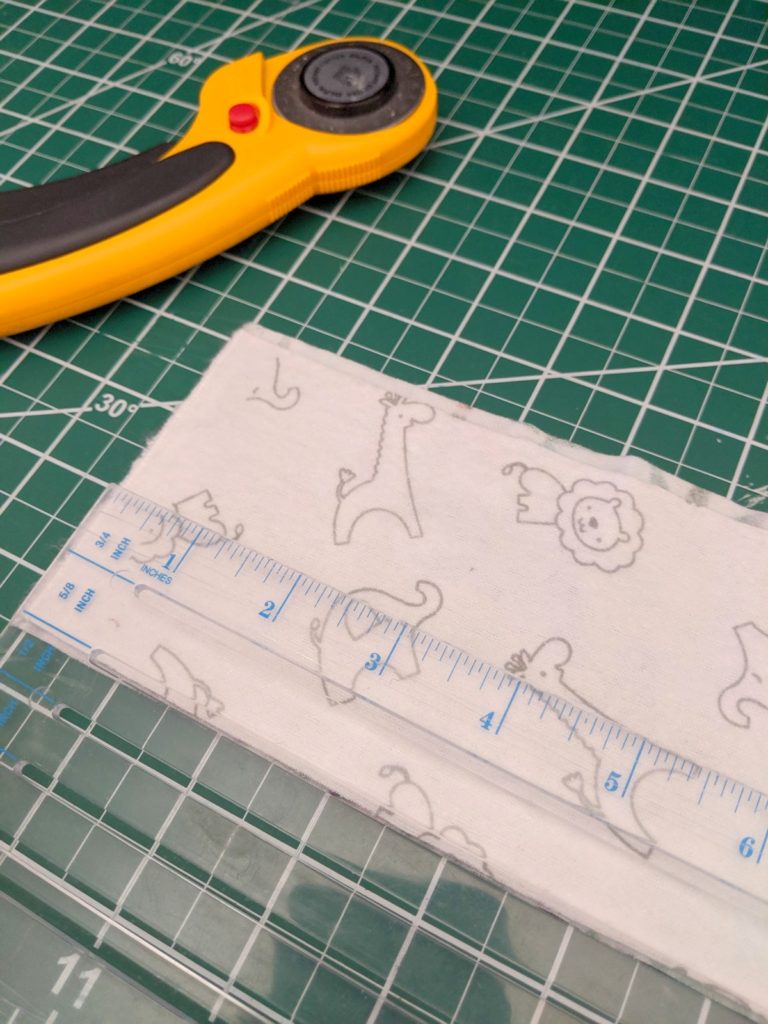
If you are using two different fabrics, just lay them over each other before you cut. If it’s just a single fabric, fold it in half, that way you save some time cutting.
Step Two:
Once you’ve cut all your pieces, match them together in pairs, with the wrong side (back side) of the fabric together. We want to see the cute patterns on the outside and these won’t be turned inside out. At this stage, I also trimmed any really straggly edges or very uneven parts.
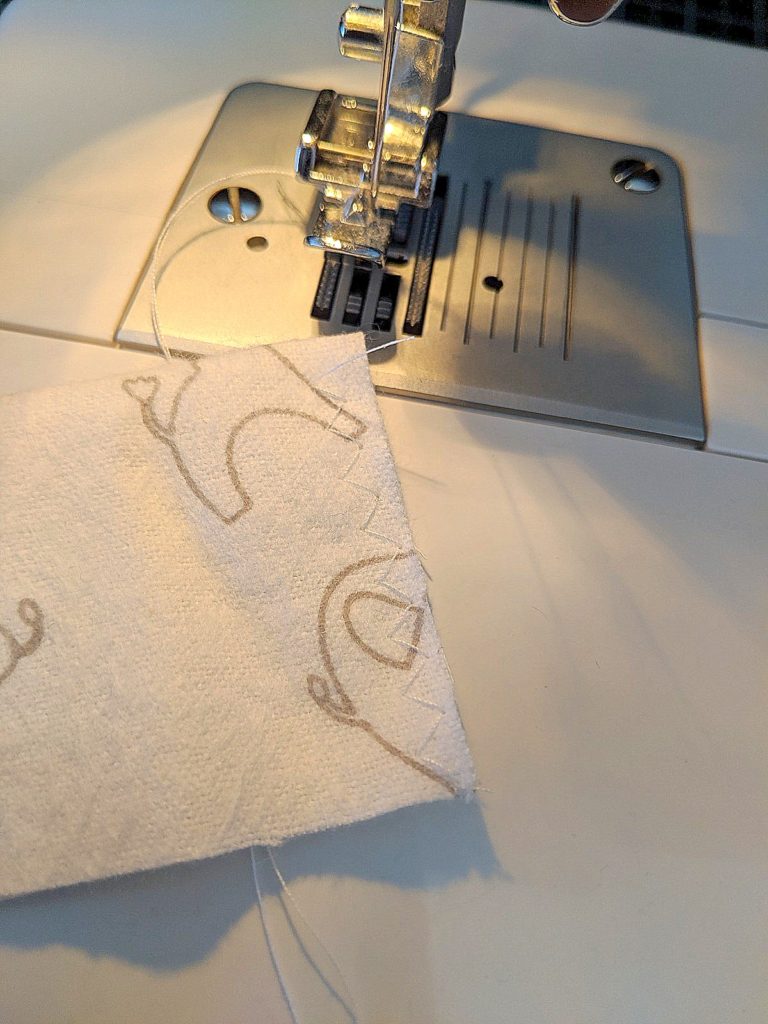
Step Three:
Time to sew! In order to keep these together and reduce fraying, set your machine to the zig-zag stitch. I also turned my stitch length dial to around 3. Now, if you don’t take any of my other advice, take this: SEW A TEST PIECE!
This stitch is a little wide, glad I tested it! 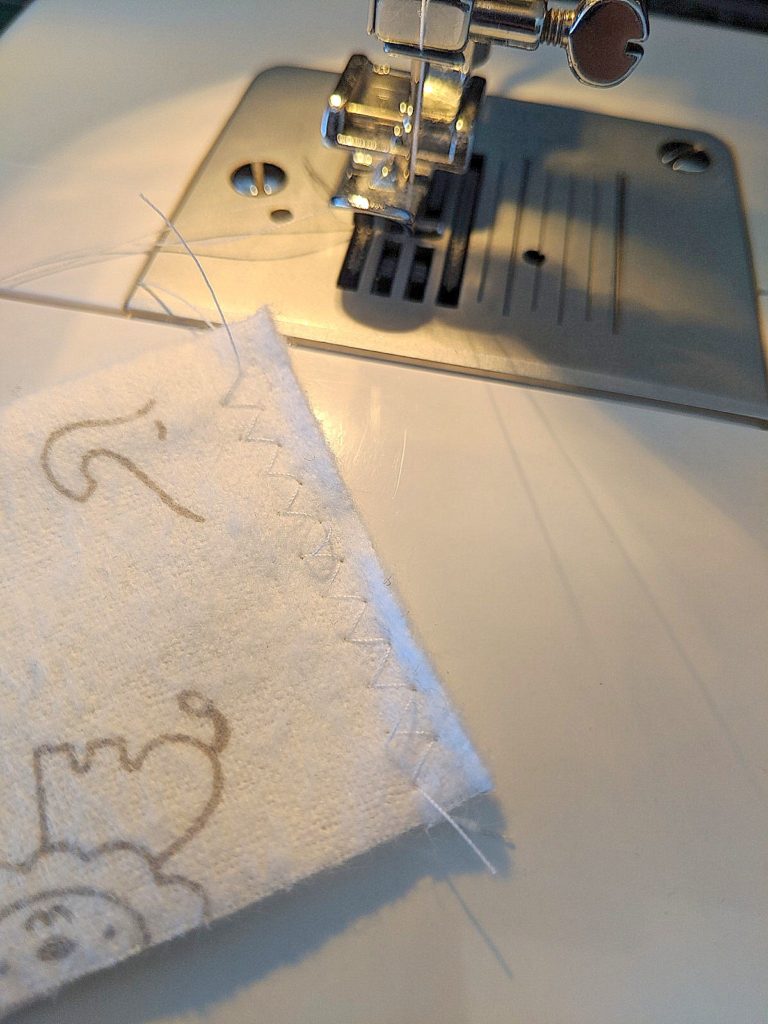
Perfect! On to the real deal.
In all the years I’ve been sewing and the many many different things I’ve made, there’s no better advice than to sew a line or two on scrap fabric before you put your actual project through the machine. I did this and that’s what helped me determine the width of my zig-zag and the stitch length. Don’t skip it! Now sew them all up, all four edges as close to the edge of the fabric as you can comfortably get.
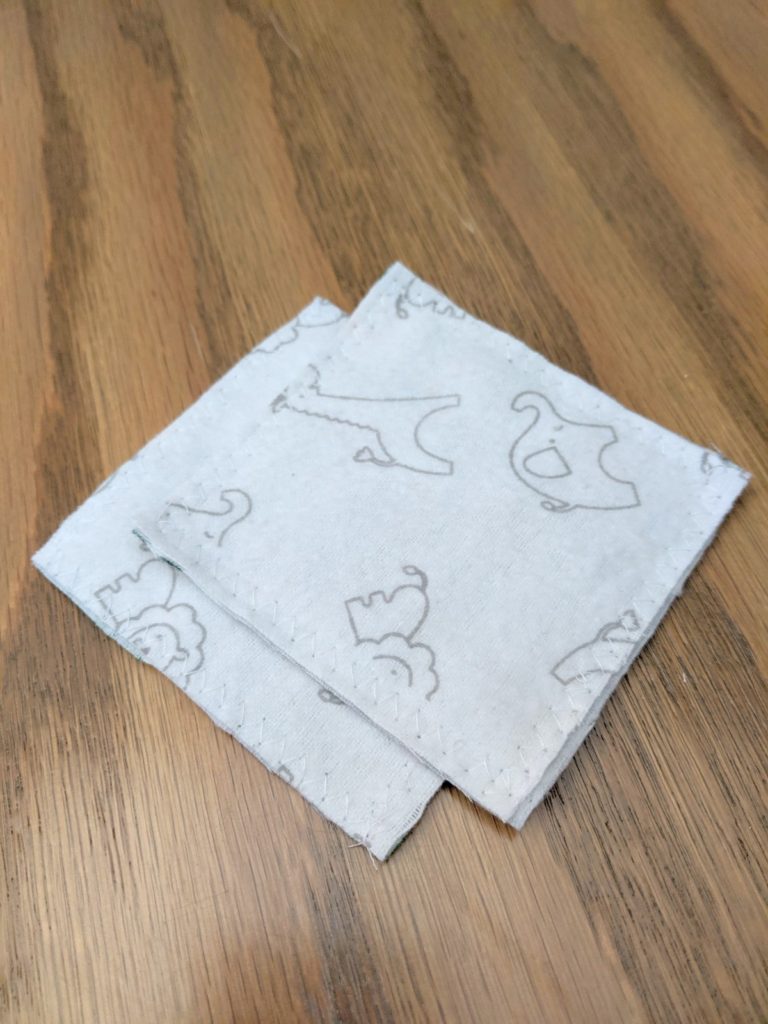
Step Four:
Ready to roll! These sew up very quickly due to their small size, and while I wouldn’t say they are the world’s most beautiful sewing product, they are cute and they do the job. While I’ve called these DIY reusable makeup wipes, they could easily be used for anything you would usually put on a disposable cotton pad like toners or other treatments.
I hope you give this project a try. These are a great way to test the waters of zero waste – not to mention you can customize the color, pattern and shape to fit your style! Let me know if you try this – I’d love to see how yours come out.